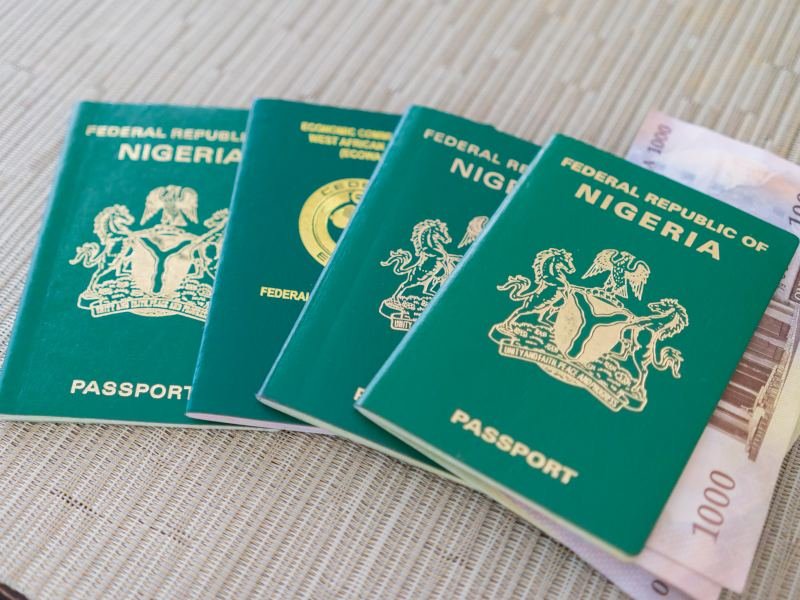
How To Apply For Nigeria International Passport Online and get it within Few Days
Are you looking for How To Apply For Nigeria International Passport Online and get it within Few Days?
In this article, I will explain in details how I paid 26k online for my Nigerian International Passport and got it within 6 days.
I didn't have to pay anybody.Steps on How To Register for Nigeria International Passport Online
Here steps on how to get your International Passport in 5 StepsSTEP 1: Register Online
Visit the registration portal, fill in the required details and continue. N.B The standard passport (sometimes appears as standard e-passport) is for regular citizens, while official passport is for govt officials & diplomats. portal.immigration.gov.ng/pages/welcomeFill in your personal details, Contact details and next of kin details.
Doing this will generate an 'Application ID' and 'Reference Number' for you.
STEP 2: Pay online.
32 pages/5yrs - 25,000 64 pages/5yrs - 35,000 64 pages/10yrs - 70,000 Plus online payment chargeSTEP 3: Gather your documents.
Here are the documents you will need: 1. Letter of ID from L.G/State of Origin 2. NIN (They said or NIN, me I sha submitted both) 3. Passport Application Form (You will see an option to print the form you filled online.) 4. Passport Photograph
5. Guarantor's Form signed by commissioner of oath. (Link to form below) Don't let big English scare you. Print the guarantor's form, and find an eligible person to sign, then go to court. An eligible guarantor is one with an International Passport. passport.immigration.gov.ng/search/VTJGc2R)
Don't let the word 'court' scare you either.
Go to a high court, and ask how you can get a commissioner for oaths stamp (less than 1k)
Or pay one the people doing affidavit to process it for you (about 1500 or 2k).
6. Acknowledgement slip & evidence of payment (from the site).
7. Birth Certificate (If your DOB is from Dec 1992) But it's not heavy to carry, so, just carry it in case.....
You are to go with both the originals and photocopy of your documents. They will see the original, return it to you, and keep the photocopy.
STEP 4: Go to the office for submission and capturing.
After registration and payment, you get an appointment date. Visit the office on that date to submit the documents you have gathered and get your biometrics captured. Some things you should know about capturing1. Don't wear white: You will be captured against a white background
2. No coloured hair: You will be asked your hair colour during registration, let your hair be as close to that color as possible
3. No dropping earrings (I think it's because of the shadow)
Bonus tip: Don't wear off shoulder. I wore off shoulder for mine, and now it looks like I was not wearing anything in my passport.
Also, if you wear contacts, stick to your natural eye colour for the capturing.
STEP 5: Collection
After capturing, your watch officially begins. Usually, you receive an SMS when it is ready. (But I didn't get any because my line was on DND). I just went after 6 weeks and got it. A friend got hers in 4 weeks.I had done mine in Alausa.
Between December when I got mine, and February when above mentioned friend got hers, I have noticed some improvement in the process.
E.g.
1. My own time, submission and capturing were on 2 different days. Now, it's just one day.
2. No appointment date when I did mine, I just went when I was ready, now they have appointment dates.
3. The site is much more easier to use now.
I am hopeful that when you begin your process, you will find it easier.
In Conclusion
I have learnt that one of the improvements I celebrated, (i.e., getting an appointment date), has its own challenges.
People now have to wait for ages to get an appointment date.
So this makes the process even longer.
Quite sad!
And yes, if you already have a travel date, I do not recommend this process.
This process is ideal for people who do not need their passport urgently.


Leave a Comment